Happy Valentine’s Day.
May this month be full of love for each other.
From the Floor.
Erichka welcomed the members and visitors and gave her best wishes for 2010. A special welcome was made to Sandra Pheiffer from Q-East and to Maggie Ziehl ex member visiting from Canada.
Apologies from Pat Warren and Carol Poutney.
Report Back.
We received a letter from Jean Hill who now has finally retired to the coast and from Ting Cotter who thanked us for the love quilt.
Our thoughts and prayers go to Carol Poutney after her nasty experience
Our collections last month were very successful and a letter of thanks was received from both Children of Fire and Go- Iswe. Please remember we are still collecting recyclable material for Liz Dobbins and cushions for the S.P.C.A.
Dates to Diarise. NB
GRG Meetings 2010.
Feb 6th to be held at Alberton Civic Centre
May 15th to be held at The John Barrable hall Benoni
Aug 21st to be held at Alberton Civic center
Nov 20th to be held at Klip River Recreation centre
QQ. Calendar of Events for 2010
February 3rd Jenny Smith Quilt as you go
March 3rd Margie Letts New Ideas in Design
April 7th Ronda Shiva Paint sticks use in Quilts
May 5th Carolyn Kode Embellishments on Quilts
June 2nd Nola Mayes Reversible quilts
July 7th Lydia Lomas Photo Transfer / Memory quilts
Aug 4th Suzen Bornman Piecing your Patchwork by hand
Sept 1st Di Pettersen The art of Machine Embroidery
Oct 6th Marietta Sri- Lankan Appliqué / embroidery
Nov 3rd Lesley Taylor Shadow AppliquéDec 1st Fun morning of Demonstrations.
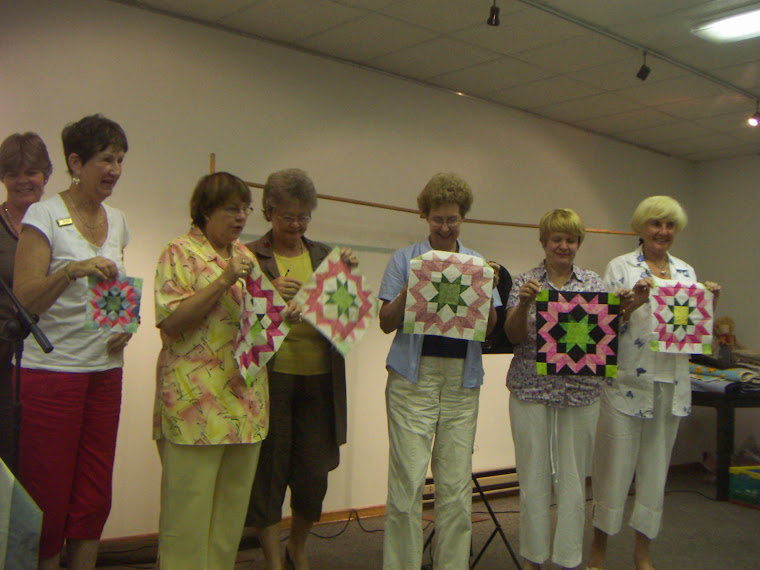
Jeanette Botha presented the Youth Block Challenge.
3, pieces of fabric will be donated by Moda fabrics for a schoolchild, Primary or High School to make a 40cms x 40cms block under your guidance. This is to encourage the Youth to start sewing. Entry cost R25. Entry forms and additional info available on website www.into2crafts.co.za Please let make a huge effort to participate
Next Traveling Exhibition
The Theme has been announced;
“Jewels of the Earth”
Entry forms will be
available Feb 2010
Deadline Sept 2010
Size not be larger than 60cms x 1,20cms
Quadrille Quilters has been invited to hold an Exhibition of Quilts for the Guide Dogs Ass in May further details to follow.
Avreil Barker alerted us to a
Travel Scam which is currently on the go.
Remember if it sounds to good to be true, its because its not true don’t get caught out.
Elzabe Lund made an appeal to all quilters our tea helper Lindiwe is expecting a baby any donations of baby items will be most welcome.
INSPIRATION FOR
THE MONTH
“ Each Day is a new
beginning ------
another chance to learn
more about ourselves,
to care more about others,
to laugh more than we did,
to accomplish more
than we thought we could,
to be more than we were before.”
History of Needle Cases
Needles, once quite labour-intensive to make, have long been valued as an important domestic tool. As far back as the Vikings, people kept their needles in ornamental boxes and cases.
These needles were usually fashioned from bone, either fish or other animal bones.
Sometimes wood/bark were also utilized to “sew” skins together.
In the Victorian era, needle cases were made of wood, bone, sterling silver and pewter.
‘Needle books’ were also common, generally handmade often heavily embroidered and embellished.
The making and decorating of booklets to keep our needles safe and easy to locate – both for ourselves and as tokens of affection – has been an enjoyable occupation for many generations of women.
Such is their charm that there was a time when the humble needle case was used commercially as a successful marketing gimmick.
Needle cases are easy and quick to make and the perfect platform for experimenting with a new technique, design, or embroidery stitch.
In earlier times, needle cases were favoured gifts for sewing friends – kept handy in sewing baskets – a constant reminder of a friend’s affection!
Needle cases can be as simple as 1 or 2 leaves of felt/flannel folded between a cover of reinforced fabric secured with a ribbon.
It could be left un-embellished or decorated to death. The choice was yours.
Advertisers soon realized that they had a captive market in women who utilized needle cases, so they began to offer paper needle cases as giveaways. These were a very handy reminder of the company or product advertised. They were mainly produced between the 1920’s & 1950’s. The marketing behind these paper needle books were sound – give something to the wife/woman that she will use on a daily basis and in so doing, provide a visual reminder of the product.
This is not unlike what we experience in television advertising today. However, the advertising of the product was in a functional object, constructed of lightweight cardboard, the size of a post card. It opened to reveal various sets of sewing needles of different sizes, grouped together by type, based on the kinds of needles that were in common use, e.g. sharps, darners, chenille, carpet, etc. I’m sure you can remember needle books that were still around in the 1980’s, e.g. coats and halls that had a selection of needles! The needles themselves were attached to the cardboard either in individual packets or threaded through a foil background with the all important needle-threader included!
The graphics on the needle book covers reflected the times in which they were produced and formed a frame of reference for the social history of the time. Clothing and hairstyles, indicated contemporary fashion trends, technological advances and world events were all captured and displayed on needle books. Common graphics were of a little girl sewing industriously or of a group of women sewing and sharing their latest projects. For the advertiser and manufacturer, these images could be updated on a regular basis to reflect changes within society at any given time.
Today these cardboard needle books are very collectable and fetch a good price at auctions. Although these cardboard needle books were only designed as ephemeral objects, many have survived the test of time. Many are still to be found in sewing boxes and drawers because women tend to treasure beautiful things!
Web sites to visit;
www.weallsew.com/freestuff.
www.craftandfabriclinks.com
www.patchworkposse.com
www.julieneu.com
What are the secrets to a Quilt that lies Flat.
Whether it’s a Miniature or a full sized quilt there are many reasons why quilts don’t lie flat.
The problem can start very early in your project with “ unsquare blocks”.
“Unsquare blocks” are those in which the height doesn’t match the width
For example a block that is supposed to be square might actually have a height of 2 ¾” and a width of 3”. So it is extremely important to make sure that your quilt blocks are as “square” or true to size as possible.
If you are setting “unsquare” blocks with lattice (sashings) there is a way to do a bit of fudging.First find the difference between the height and width of the blocks. Next divide that number in half.
Then add the result to the smaller of the 2 dimensions.
For eg. If we wanted to cut the sashing for a block measuring 2 ¾” x 3”.
We have a difference of a ¼” divide this in half and we get 1/8”This is the number we add to the smaller 2 ¾” so we now can our sashing 2 7/8”.
By cutting the sashing 2 7/8” long you will be able to ease in or slightly stretch each block as necessary while you join the strips and blocks.
The same formulae is used to determine the length of borders. It is therefore critical that you measure the height of your quilt on both sides and through the center The same must be done for top and bottom borders
Another reason for rippling is an uneven amount of quilting throughout the quilt. If you do a lot of quilting in the center of the quilt and not so much on the borders, the quilt edges will ripple.
On the other hand, if you do sparse quilting in the center and lots of quilting on the borders, the center quilt will puff out. There should be a consistent amount of quilting throughout the piece.It is very important to “square up” the quilt after quilting and before sewing on the binding. This is another major reason why quilts do not lie flat. Use your border seam line for squaring up the quilt trimming any excess batting. Backing and quilt top which has been pushed out by the quilting.
Saturday, February 6, 2010
Subscribe to:
Post Comments (Atom)


Tilly+de+Harde+Where+have+all+the+Butterflies+Gone..jpg)
Colleen+Harris+Midsummer+nights+dream.jpg)
.jpg)
.jpg)
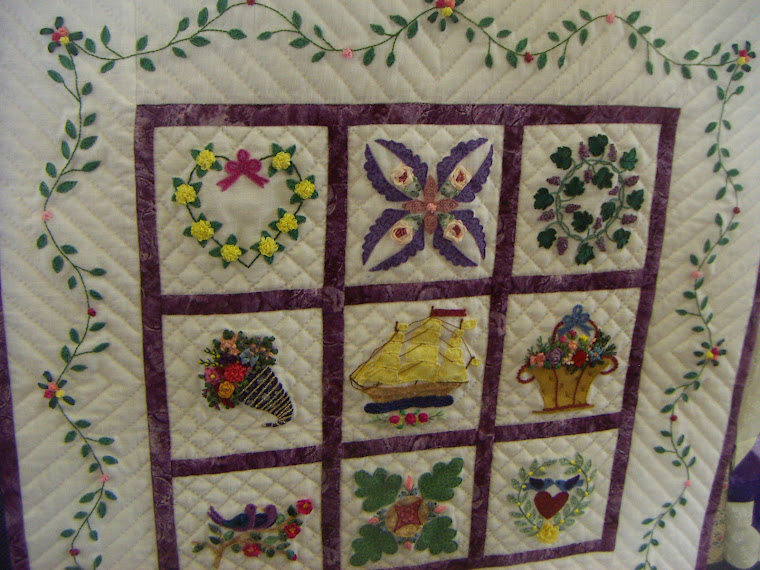
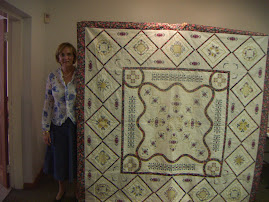Rosemarie+Eriksson+Embroidered+quilt.jpg)
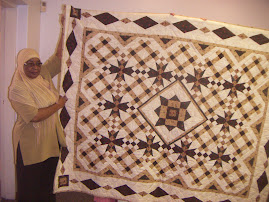Berlize+tulip+quilt..jpg)
.jpg)
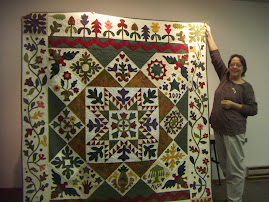+Mary+Ash+Baltimore.jpg)
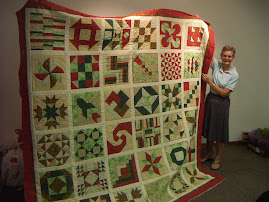

.jpg)
.jpg)


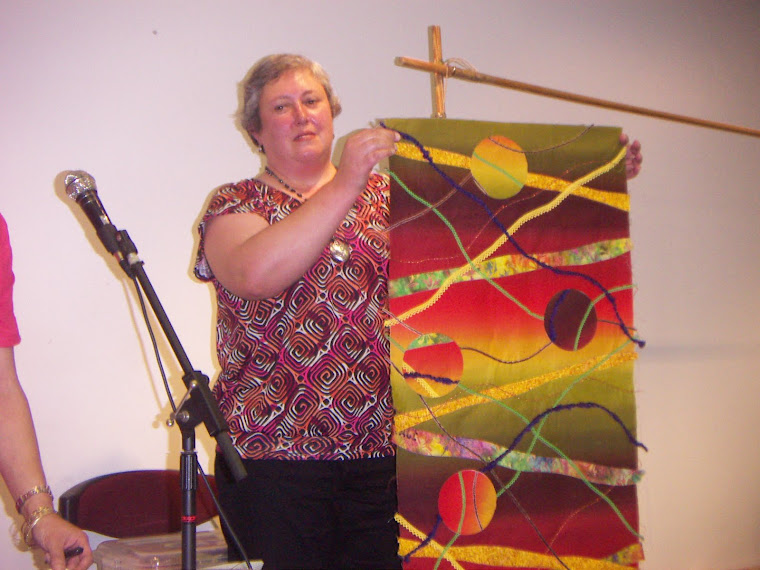Tertia+Darn+Quilt.jpg)
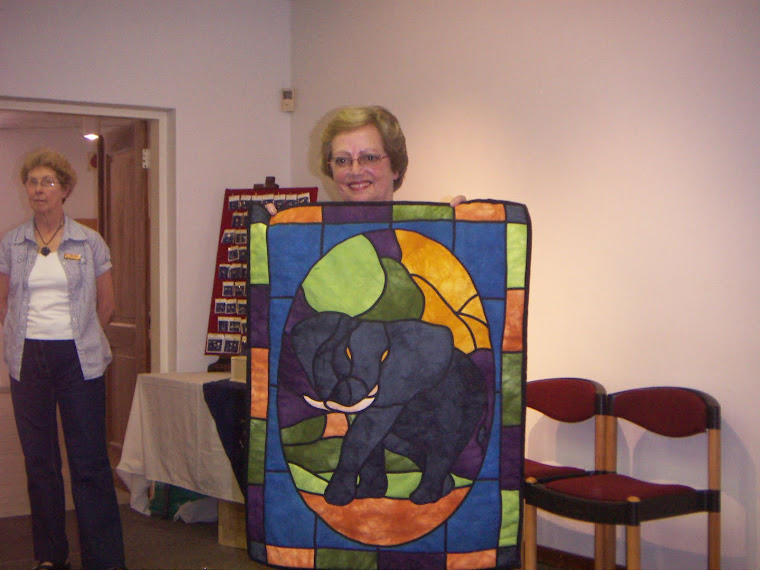Yvonne+jordan+Elephant+quilt.jpg)
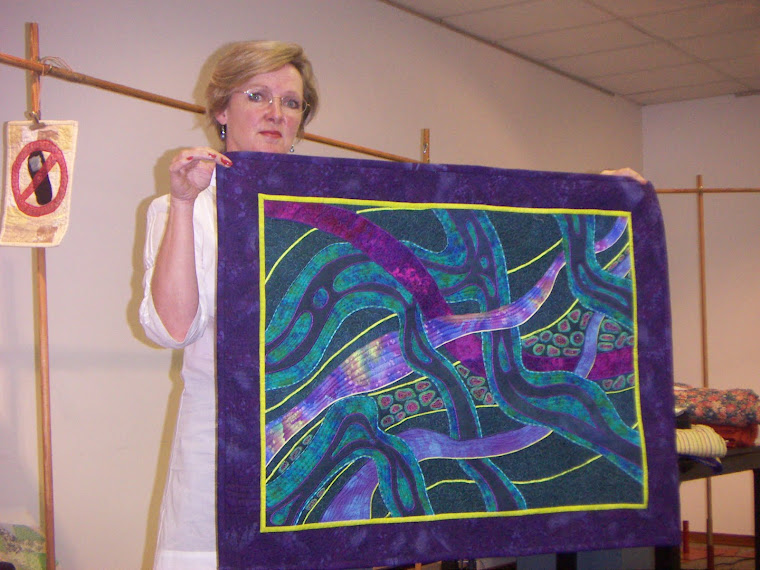Tilly%27s+Goodbye+to+the+Grid.jpg)
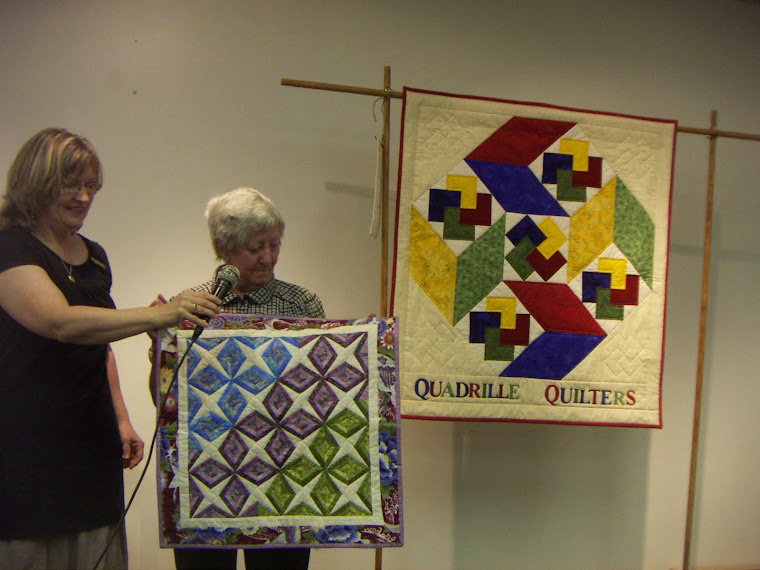


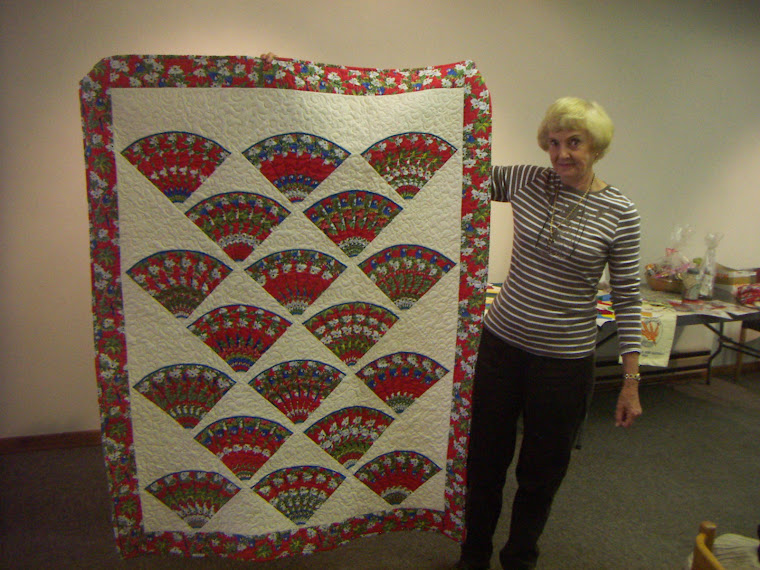Dorinda%27s+Stack+and+Whack.jpg)
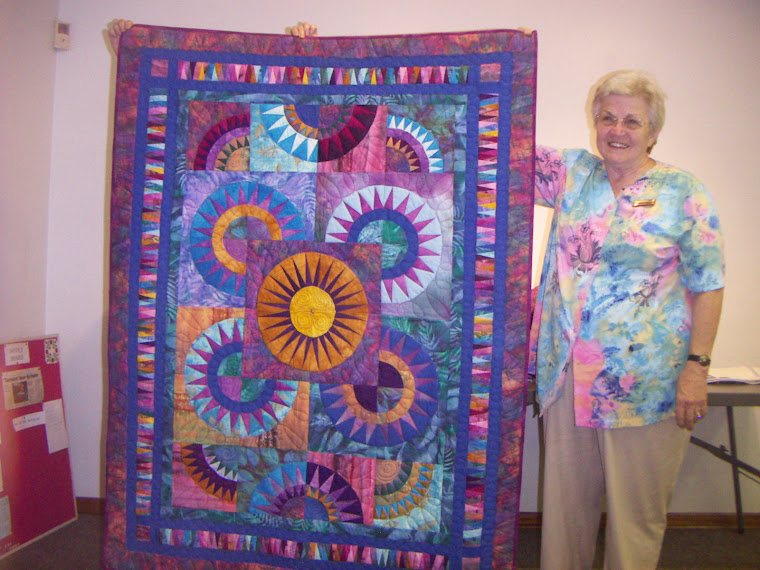.jpg)
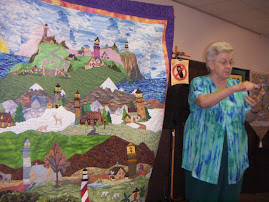
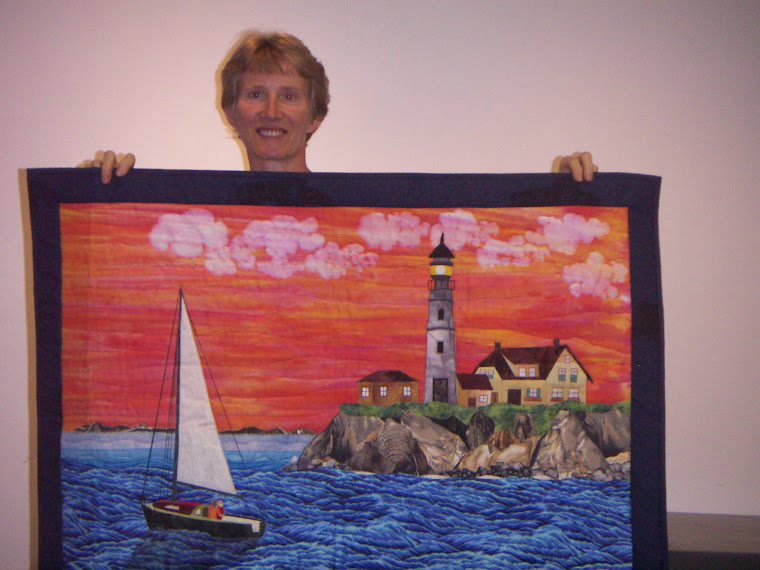Ira%27s+landscape+lighthouse..jpg)
.jpg)

.jpg)
.jpg)
.jpg)

No comments:
Post a Comment